Azure App for Streams
Create your free Microsoft Azure account if you don't already have one. You'll use this account to create the Microsoft developer application that is used for authenticating end users through OAuth with Nylas.
Staging and Production OAuth
Don't set up Office 365 on your production app before testing on your staging app. Once the OAuth settings are added, they can't be deleted.
Create an OAuth Application
First, create an app for authenticating your customers to Microsoft 365. Use the Azure web portal.
Log in to Azure
- Go to the Azure Portal and log in.
- From the Azure portal home page, search for and click App Registrations.
- Click New Registration.

New App Registration
- Set your name to your app's name. This will be visible to your users.
- Set the audience for this app to Account in any organizational directory to be able to log in to any account using Office365. You can also restrict it to internal accounts, Accounts in this organizational directory only, if you're building an internal app.
- On the same screen, set the Redirect URI to Web
- If you are using Hosted Authentication use
<https://datastreams.us.nylas.com/connect/callback>.- For EU regions,
<https://datastreams.eu.nylas.com/connect/callback>
- For EU regions,
- If you are using Hosted Authentication use

Enable the Required APIs
To enable the required APIs, you need to add the permissions to the app Manifest.
Required Permissions
- Azure Active Directory Graph
- User.Read - Sign in and read user profile
- Mail.Read - Read the mail for streaming
- Microsoft Graph
- offline_access - Maintain access to data you have given it access to
- openid - Sign users in
- profile - View users' basic profile
- User.Read - Sign in and read user profile
- Office 365 Exchange Online
- EAS.AccessAsUser.All - Access mailboxes through Exchange ActiveSync
- EWS.AccessAsUser.All - Access mailboxes as the signed-in user through Exchange Web Services
To get there from the Azure home page:
-
Go to Home > Manage Microsoft Entra ID > App Registrations.
-
Click on your app name.
-
Then click Manifest.
-
In the Manifest code, look for
requiredResourceAccess.The Manifest allows you to update the app directly by editing the JSON. Learn more about the Manifest at Microsoft.

Existing Manifest Data
If you already have values in
requiredResourceAccessyou will need to add to the existing data. if you need help with this, contact Nylas support. To help get support faster, add Nylas to your application as a user. -
Update the
requiredResourceAccessto have the Manifest code. If there are existing permissions, this will overwrite them.
 "requiredResourceAccess": [
  {
   "resourceAppId": "00000003-0000-0000-c000-000000000000",
   "resourceAccess": [
    {
     "id": "570282fd-fa5c-430d-a7fd-fc8dc98a9dca",
     "type": "Scope"
    },
    {
     "id": "7427e0e9-2fba-42fe-b0c0-848c9e6a8182",
     "type": "Scope"
    },
    {
     "id": "e1fe6dd8-ba31-4d61-89e7-88639da4683d",
     "type": "Scope"
    },
    {
     "id": "37f7f235-527c-4136-accd-4a02d197296e",
     "type": "Scope"
    },
    {
     "id": "14dad69e-099b-42c9-810b-d002981feec1",
     "type": "Scope"
    }
   ]
  },
  {
   "resourceAppId": "00000002-0000-0000-c000-000000000000",
   "resourceAccess": [
    {
     "id": "311a71cc-e848-46a1-bdf8-97ff7156d8e6",
     "type": "Scope"
    }
   ]
  },
  {
   "resourceAppId": "00000002-0000-0ff1-ce00-000000000000",
   "resourceAccess": [
    {
     "id": "266d2589-20b5-4f91-9a03-89247d1be8da",
     "type": "Scope"
    },
    {
     "id": "3b5f3d61-589b-4a3c-a359-5dd4b5ee5bd5",
     "type": "Scope"
    }
   ]
  }
] - Save the Manifest.
- All the necessary permissions have been added. To check the API permissions, click API Permissions from the menu.

Add Redirect URIs
- Go to Authentication and click Add a platform.
- Select Web.
- Add the URL
<https://datastreams.us.nylas.com/connect/callback>, or for EU regions,<https://datastreams.eu.nylas.com/connect/callback>. The URL is required to complete the authentication flow. - Go to the heading Implicit grant and hybrid flows. Check both boxes.
- Access tokens (used for implicit flows)
- ID tokens (used for implicit and hybrid flows)
- Click Configure.
- On the same page, find the heading Supported account types.
- Single tenant - You'll need your tenant ID from the Overview page, and your app should be MDM verified. It will work during testing, without verification, but should be completed before publishing.
- Multitenant - Nothing for now.
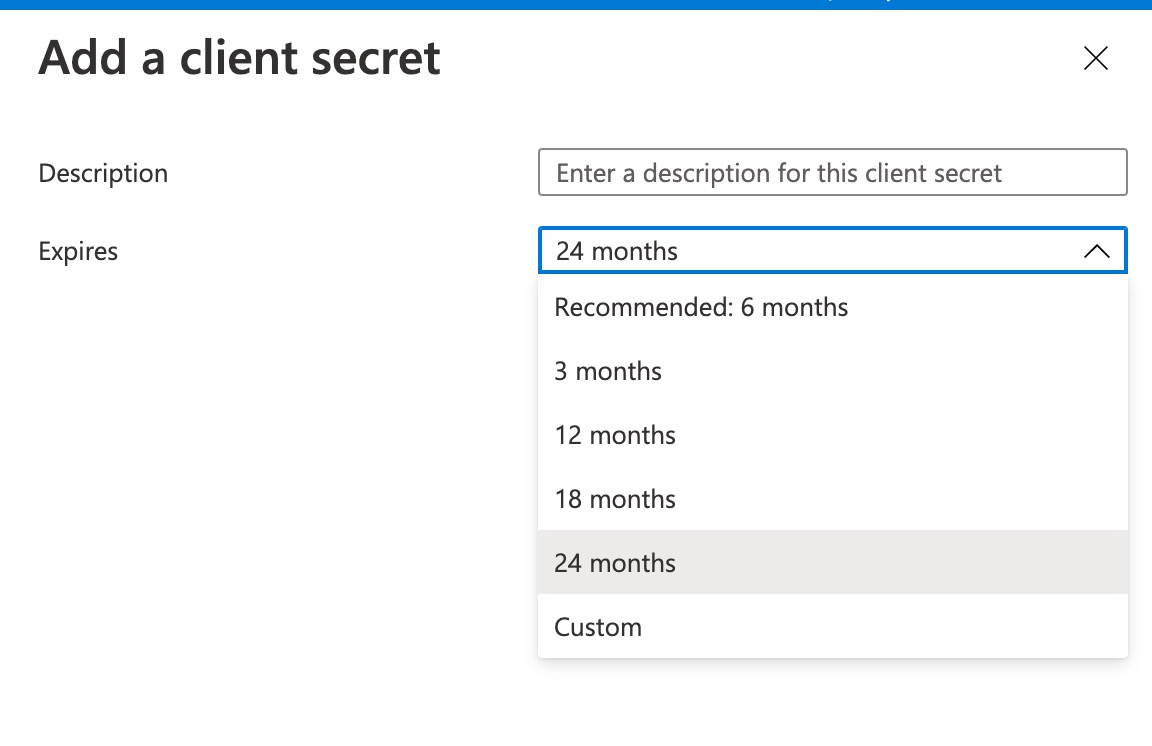
Create the OAuth Credentials
-
From the App menu click Certificates & secrets.
-
Click New client secret.
-
Give the secret a name and an expiration date of 24 months. Click Add.
-
Copy the value from the Client secrets page, and save it somewhere safe. Once you leave this page, you won't be able to retrieve the value afterward. You'll need the client secret when you add an Integration.

Expiration Dates
Microsoft no longer allows the client secret expiration of never.
Copy the client ID
In Azure, go to the App Registrations page and copy the Application (client) ID. You'll need the value when you create an Integration.

Create an Azure Integration
💡 Tip: You can skip this step if you've already created an integration.
Before you begin, make sure you've added the redirect URI to your new application:
- U.S. region:
https://datastreams.us.nylas.com/v3/connect/callback - E.U. region:
https://datastreams.eu.nylas.com/v3/connect/callback
After you set your redirect URI, you can create your integration:
- Go to the Nylas Dashboard and select Integration.
- Choose the integration you want to create.
- Enter your client ID, client secret, and redirect URI.

Create a Grant
First, you need to grant the email account access to your integration:
- Go to the Nylas Dashboard and select Grants.
- Click Add Grant.
- Enter the email address that you want to create a grant for.
- Repeat steps 2 and 3 for each email address you want to get data for.

What's Next
Choose which provider you want to stream data to:
You can also read about the supported data types and connectors Nylas offers.
Getting Ready for Production
Microsoft requires apps that access user data to go through a domain verification process. Contact Nylas support for more assistance.