The Nylas Dashboard is where you create and manage your Nylas applications, generate API keys, and see API key secrets.
Create Nylas application
Section titled “Create Nylas application”To create a Nylas application…
- Log in to the Dashboard.
- Expand the application menu at the top-left of the Dashboard.
- Click Create new application.
- Enter a name and description for the application.
- Choose a data residency location. This is where Nylas stores your application and user data. This setting can’t be changed after you create the application.
- Choose an environment.
- Click Create application.
For GDPR compliance purposes, Nylas stores all organization and Dashboard-user information in our E.U. data center.
Get your API key
Section titled “Get your API key”Every Nylas application lists its API keys and their expiration status on the API keys page. This is also where you go to create, edit, and revoke keys.

When you create an API key, you can set its name and expiration time. For security purposes, we recommend you set the expiration timeline for production API keys to up to a year in the future.
When you create an API key, you specify its name and expiration timeline. For security purposes, we recommend you set the expiration timeline for API keys in your production environment for up to a year in the future. Nylas generates the key and displays its secret.
Organization management
Section titled “Organization management”You can manage various organization-level settings in the Nylas Dashboard, including billing details and members and access levels.
Manage billing details
Section titled “Manage billing details”The Billing & usage page displays an overview of your organization’s Nylas plan, any available invoices up to 2 years old, and your payment details. Here, you can download past invoices, and update the contact information and credit card information for your Nylas organization.
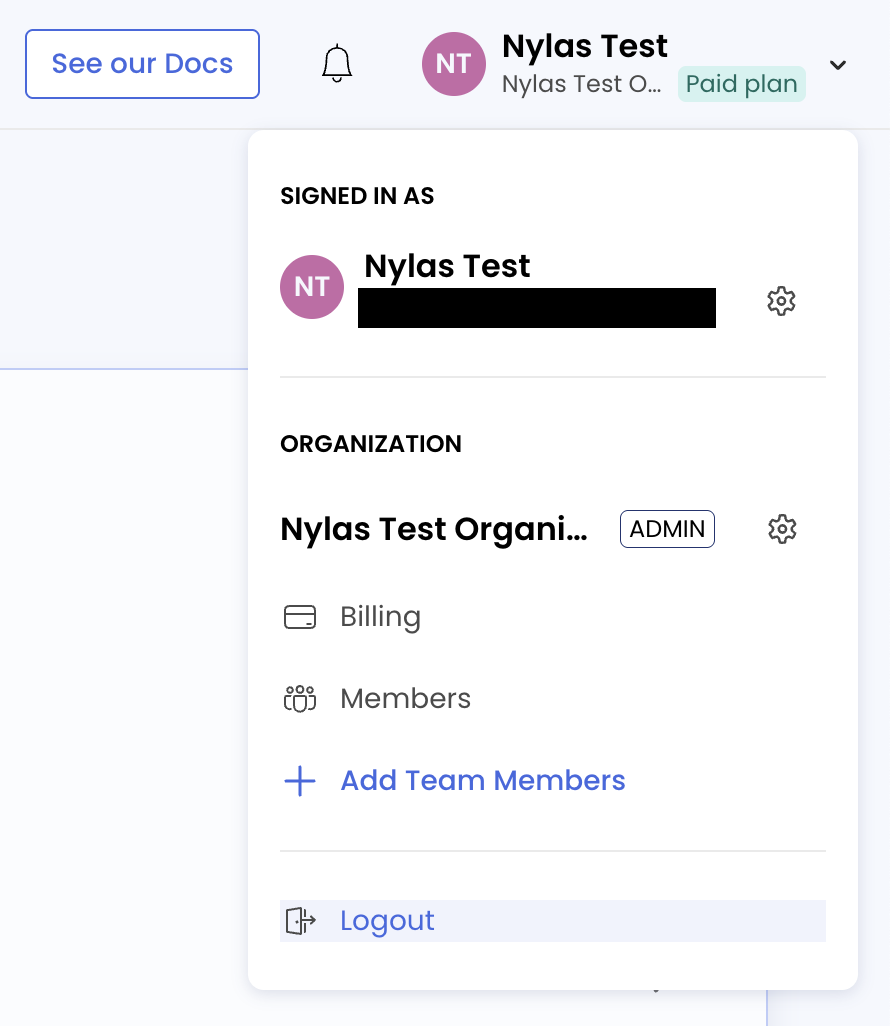
To access these settings, expand the account menu at the top-right of the Nylas Dashboard and click the gear symbol next to your organization’s name, then choose Billing in the left navigation. On free accounts, this is labeled Plans.
Manage members and Dashboard access levels
Section titled “Manage members and Dashboard access levels”The Members page shows a list of all members of your Nylas organization and their roles. If you’re logged in as a user with Admin permissions, you can invite users to the organization, update members’ user roles, and remove users from the organization.
Nylas offers three different user roles, each with different levels of access to Dashboard data:
- Member: Allows view access to Development, Staging, and Sandbox applications. Members can view the organization membership list, but can’t change it or invite users.
- Admin: Allows access to see and edit all applications, regardless of their environment. Admins can view and update the organization membership list, including changing users’ roles and inviting users.
- Support: Allows view access to all applications’ logs.
You set access roles at the organization level, and they apply to all Nylas applications in the organization.
Enterprise organizations can also configure SAML SSO so members sign in through an identity provider instead of email and password.
Set up multi-factor authentication
Section titled “Set up multi-factor authentication”The Nylas Dashboard supports multi-factor authentication (MFA) to secure your account and your organization’s Nylas applications. MFA requires users to provide a second verification factor along with their password to log in to their Dashboard account.
Enable multi-factor authentication for individual users
Section titled “Enable multi-factor authentication for individual users”If you log in to the Nylas Dashboard using an email address and password, you can set up MFA for your account even if your organization doesn’t require it.
- Log in to the Dashboard.
- Expand the account menu at the top-right of the page.
- Click the gear symbol next to your account name.
- Select Enable MFA.
- Scan the QR code using your preferred authenticator app and follow the steps displayed.
Enable multi-factor authentication for organization
Section titled “Enable multi-factor authentication for organization”If you’re the administrator of your organization, you can choose to require MFA at login for any users whose accounts don’t use SSO.
- Log in to the Dashboard as a user with Admin permissions.
- Expand the account menu at the top-right of the page.
- Click the gear symbol next to your organization’s name.
- Toggle Require multi-factor authentication (MFA) to on.
The next time users sign in, they’ll be prompted to set up MFA for their account. Users who are logged in when you enable this setting aren’t logged out immediately, and they don’t receive an email notification about the new requirement.