Set up Microsoft authentication
Because your end users must authenticate with Nylas and your Microsoft application, you need to decide your authentication method. This page describes the available methods and explains how to set each up.
Before you begin
Before you choose an authentication method, Nylas recommends you read the following documentation:
You should also have done the following tasks:
- Set up an Azure auth app.
- Complete Microsoft's domain verification process.
- Become a Microsoft verified publisher.
Set up Native authentication
⛔️ As of October 1, 2022, Microsoft has deprecated Basic authentication support for all Exchange Online accounts. For more information, see Nylas' Microsoft Exchange Online Basic authentication changes guide.
Microsoft offers only Modern Authentication/OAuth for Exchange accounts. The flow follows these basic steps:
-
Your Nylas application redirects the end user to your OAuth login page.
-
Microsoft sends an authorization code to your application.
-
Your application requests a
refresh_tokenfrom Microsoft.- You must set
tenanttocommon, andscopetooffline_access https://outlook.office365.com/EAS.AccessAsUser.All https://outlook.office365.com/EWS.AccessAsUser.All openid profile User.Read.
- You must set
-
Microsoft returns the
refresh_tokento your application. -
Your application makes an Authorization request to Nylas using the
AZURE_CLIENT_ID,AZURE_CLIENT_SECRET, andAZURE_REFRESH_TOKEN.curl -X POST https://api.nylas.com/connect/authorize -d '{
"client_id": "<NYLAS_CLIENT_ID>",
"name": "Nyla the Cheetah",
"email_address": "[email protected]",
"provider": "office365",
"settings":
{
"microsoft_client_id": "<AZURE_CLIENT_ID>",
"microsoft_client_secret": "<AZURE_CLIENT_SECRET>",
"microsoft_refresh_token": "<AZURE_REFRESH_TOKEN>",
"redirect_uri": "https://example.com/redirect", # Redirect URI that was originally used to get the refresh token
},
"scopes": "email.read_only,calendar.read_only,contacts.read_only"
}' -
Nylas returns a one-time use authorization code to your application.
-
Your application makes a request to the
/connect/tokenendpoint with the authorization code, as in the following code sample.curl -X POST "https://api.nylas.com/connect/token" -d '{
"client_id": "<NYLAS_CLIENT_ID>",
"client_secret": "<NYLAS_CLIENT_SECRET>",
"code": "<AUTH_EXCHANGE_CODE>"
}' -
Nylas returns an
access_codefor the end user's account.

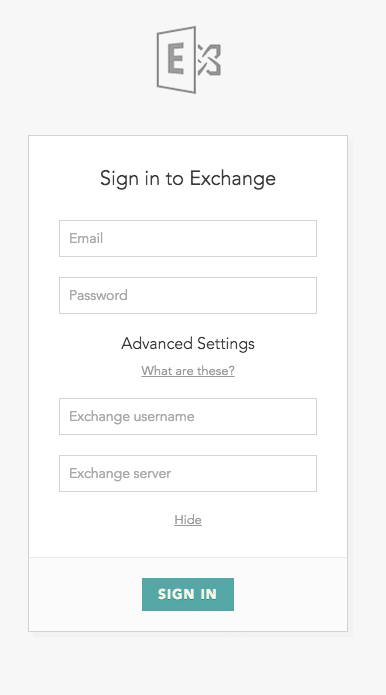
When your Native auth flow is configured, Nylas automatically tries to detect the Exchange host when an end user authenticates. If it's unable to do so, the end user is given the option to specify the host.

You can turn auto-discovery off for most Microsoft accounts by specifying the exchange_server_host in the settings. Some providers, like Office 365, don't allow you to deactivate auto-discovery.
Set up Hosted authentication
Hosted auth follows the OAuth 2.0 flow, and Nylas takes care of the underlying authentication process. To set up your auth flow, you must first configure Hosted auth for your Nylas application.
After you configure your Hosted auth flow, Nylas attempts to detect the Exchange host. If it's unable to do so, the end user is given the option to specify the host.

Microsoft Exchange ActiveSync
Because Nylas accepts Microsoft Exchange ActiveSync (EAS) scopes, it can sync the majority of Exchange accounts. When you set up your authentication flow, be sure to set the provider attribute to exchange.
The exchange_server_host parameter is optional. If you don't define it, Nylas attempts to auto-discover the server host or endpoint.
Verify scopes for requests
Before you authenticate your end users, make sure you have the correct Nylas scopes in your request. If you change any scopes, your end users will have to re-authenticate their accounts and accept the new scopes.
Keep in mind
Keep the following things in mind as you set up your Microsoft authentication flow:
- When requesting the
refresh_tokenfrom Microsoft, make sure you properly set thetenantandscopevalues.- Set
tenanttocommon. - Set
scopetooffline_access https://outlook.office365.com/EAS.AccessAsUser.All https://outlook.office365.com/EWS.AccessAsUser.All openid profile User.Read.
- Set
- Nylas recommends you use Native authentication with Microsoft OAuth.
- If you're using Native auth, you can disable Exchange auto-discovery.
Sample applications
Nylas maintains several sample Microsoft authentication applications, so you can see how to implement the process.